In the world of controlled environment agriculture, precision is paramount. While advanced greenhouse irrigation systems and high-quality sensors are essential tools, their true potential is unlocked only when they are utilized intelligently. One of the most critical, yet often overlooked, aspects of effective water management is the strategic placement of your irrigation sensors. Without accurate data, even the most sophisticated automated irrigation system can lead to costly mistakes – from nutrient deficiencies and plant stress due to underwatering, to root rot and wasted resources from overwatering. This article delves into the art and science of sensor placement strategies, ensuring you gather the precise data needed to optimize your greenhouse irrigation and cultivate healthier, more productive crops.
The Foundation: Understanding Your Irrigation Sensors
Before strategically placing sensors, it’s crucial to understand what each type measures and how that data contributes to your overall irrigation strategy. Different sensors offer different insights, and their optimal placement will reflect their specific function in monitoring the root zone environment.
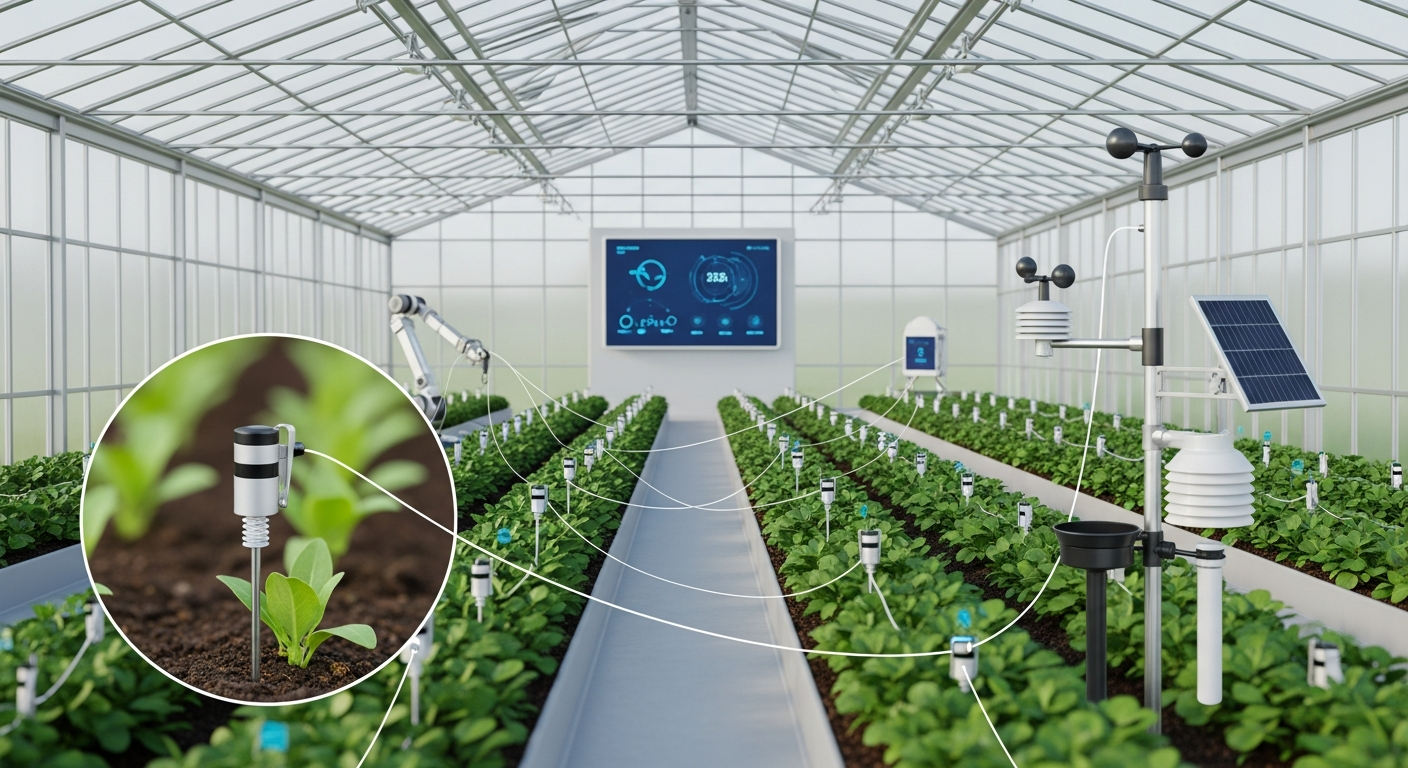
- Soil Moisture Sensors: These are arguably the most common and critical sensors for irrigation control. They measure the volumetric water content (VWC) or water potential within the growing medium, directly indicating how much water is available to your plants. Accurate placement ensures you’re measuring the actual water status within the active root zone, not just surface moisture or an overly saturated/dry spot.
- EC (Electrical Conductivity) Sensors: These sensors measure the concentration of dissolved salts (nutrients) in the substrate solution. For nutrient delivery systems, knowing the EC at the root zone is vital for preventing both nutrient starvation and harmful salt buildup. Correct placement ensures the EC readings truly reflect what your plants are experiencing.
- Substrate Temperature Sensors: While not directly controlling irrigation events, root zone temperature significantly impacts water and nutrient uptake. Placing these sensors effectively helps you understand the overall health and activity of your root system, allowing for adjustments in irrigation timing or nutrient solution temperature.
Each of these sensors provides a piece of the puzzle. Understanding their individual roles helps in determining the most effective location to gather meaningful, actionable data for your greenhouse climate control system.
Core Principles for Optimal Sensor Placement
Effective sensor placement isn’t a one-size-fits-all solution; it requires careful consideration of your specific crops, growing medium, and greenhouse environment. However, several core principles guide the process, ensuring your sensors capture representative and reliable data.
Representativeness is Key for Accurate Data
The primary goal of sensor placement is to obtain data that accurately reflects the general conditions experienced by the majority of your plants. A single sensor in a large growing area is rarely sufficient. Consider the following:
- Variability Assessment: Identify areas within your greenhouse that might have different microclimates or irrigation patterns. This could be due to proximity to vents, heaters, shade, or differences in dripper output. You might need to place sensors in several “representative” zones to capture this variability.
- Average vs. Extreme Conditions: While you want to monitor average conditions, it’s also wise to place a sensor or two in areas prone to extremes (e.g., the driest spot, the wettest spot, or an area with higher evaporative demand). This provides valuable early warning signals.
- Crop Uniformity: If you’re growing a highly uniform crop, fewer sensors might suffice. For diverse crops or varying plant sizes, more sensors will be needed to gather precise, localized data.
Focus on the Active Root Zone
Sensors must be strategically positioned within the plant’s active root zone, as this is where water and nutrients are absorbed. Placement too shallow or too deep will provide irrelevant or misleading information.
- Depth Matters:
- For seedlings or young plants, sensors should be placed shallower.
- As plants mature and their root systems develop, adjust sensor depth to target the main concentration of roots. For deep-rooted crops, consider multiple sensors at different depths to monitor water penetration and availability throughout the profile.
- In containers, aim for the middle third of the substrate depth.
- Proximity to Emitters/Drippers: Place sensors close enough to the irrigation emitter to detect the wetted bulb/pattern but not directly underneath a dripper. Direct placement can lead to falsely high moisture readings immediately after an irrigation event, misrepresenting the overall moisture status of the root zone. A few centimeters away, within the expected wetted pattern, is ideal.
Consider the Growing Medium and Container
The type of substrate and container profoundly influences water retention, distribution, and sensor interaction.
- Substrate Type:
- Peat/Coir Mixes: These generally hold water well. Sensors should be firmly inserted to ensure good contact.
- Rockwool/Soilless Slabs: Sensors are typically inserted directly into the slab, ensuring full contact with the medium. Pay attention to the orientation of the sensor to prevent air gaps.
- Larger Particulate Media (e.g., bark): Ensure the sensor is making good contact and not just measuring an air pocket between particles.
- Container Size: In smaller pots, sensor placement is more critical and can significantly impact readings if not perfectly centered. In larger containers or beds, there’s more flexibility for minor adjustments.
Avoid Microclimates and Anomalies
Ensure sensors are not placed in locations that might give artificially skewed readings:
- Away from direct splashing from irrigation lines or condensate drips.
- Not too close to heating pipes, cooling pads, or air vents that could create localized temperature or drying effects.
- Ensure the sensor isn’t exposed to direct sunlight if it’s designed for root zone measurements, as this can affect its internal temperature and skew readings.
Practical Strategies for Different Growing Systems
Applying these principles to various greenhouse setups requires specific tactical considerations.
Potted Plants and Containers
- Selection of Representative Pots: Choose a selection of pots that represent the average growth rate and size of your crop. You might also select a few “stress” pots – perhaps a larger, faster-growing plant that might dry out quicker, or a plant in a less ideal location – to get a fuller picture.
- Mid-Pot, Mid-Depth: For most potted plants, insert the sensor roughly one-third to halfway into the substrate from the top, and position it centrally within the pot (not too close to the edge or directly under the stem).
- Rotation: If feasible, periodically rotate which pots contain sensors to sample a wider range of conditions across your growing area.
Bench or Bed Growing (e.g., Leafy Greens, Cut Flowers)
- Grid Pattern: For large beds, a grid-like placement can provide comprehensive coverage. The density of the grid will depend on the uniformity of your irrigation and crop.
- Depth Variation: If growing deep-rooted crops, consider placing sensors at two different depths – one shallower to detect initial drying, and one deeper to monitor overall water availability.
- Edge vs. Center: Always include sensors near the edges of beds, as these areas can often dry out faster due to increased air circulation and exposure.
Hydroponic/Soilless Systems (Rockwool, Coir Slabs)
- Direct Slab Insertion: Sensors should be inserted directly into the grow media slab. Ensure there are no air gaps around the sensor probe, as this will lead to inaccurate readings.
- Dripper Proximity: Place sensors relative to the drippers, typically a few centimeters away from the point of irrigation to measure the moisture and EC of the entire slab, not just the immediately irrigated zone.
- Drainage Monitoring: In drain-to-waste systems, an EC sensor in the runoff can provide valuable data on nutrient uptake and salt accumulation, complementing root zone EC readings.
Hanging Baskets
Hanging baskets are notorious for drying out quickly due to increased air circulation and exposure. Sensor placement needs to reflect this:
- Representative Basket: Choose a basket that represents the typical size and exposure of your crop.
- Mid-Depth Placement: Insert the sensor into the substrate at a mid-depth, ensuring good contact.
- Multiple Heights: If baskets are hung at different heights, and you suspect variations in microclimates (e.g., warmer air higher up), consider placing sensors in baskets at different levels.
Calibration, Monitoring, and Adaptation
Strategic sensor placement is only the first step. Ongoing vigilance ensures the data remains accurate and actionable.
- Initial and Regular Calibration: All sensors require initial calibration according to manufacturer guidelines. Soil moisture and EC sensors, especially, benefit from regular calibration checks (e.g., quarterly or annually) to maintain their accuracy over time.
- Cross-Referencing Data: Never rely on a single data point. Combine soil moisture data with EC readings, substrate temperature, ambient air temperature, humidity, and visual inspection of your plants. If your moisture sensor says the soil is bone dry but your plants look turgid and healthy, investigate.
- Data Interpretation and Trends: Learn to interpret the trends in your sensor data. A steady decline in moisture between irrigation events is normal. Sudden, unexplained drops or spikes might indicate a sensor issue, an irrigation system malfunction, or a significant change in plant demand.
- Adaptation and Flexibility: Sensor placement is not static. As your plants grow, their root systems expand, and their water needs change. Seasonal variations (light, temperature, humidity) also impact irrigation. Be prepared to adjust sensor locations, add more sensors, or change irrigation zones as your crop cycle progresses and environmental conditions shift. Regularly review your sensor data and compare it with plant performance to refine your strategy.
- Troubleshooting: If readings seem inconsistent or wildly inaccurate, start by checking physical connections. Clean sensors regularly to remove salt buildup or organic matter that might impede proper function. Recalibrate if necessary, and if all else fails, consider moving the sensor to a new location.
Conclusion
Achieving truly precise greenhouse irrigation goes beyond simply installing advanced technology; it hinges on the intelligence behind its deployment. Strategic sensor placement is the cornerstone of gathering accurate, representative data, empowering you to make informed decisions that optimize water and nutrient delivery.
By understanding your sensors, adhering to core placement principles, and adapting your strategy to specific growing systems, you can move from reactive watering to proactive, data-driven irrigation control. This investment in careful planning and ongoing monitoring will not only conserve precious resources but also foster a healthier root environment, leading to stronger plants, higher yields, and a more sustainable greenhouse operation. Take the time to plan your sensor layout carefully – your plants will thank you.